Accessible Excel Spreadsheets
Table of Contents
- Making Your Excel Spreadsheets Accessible
- Table Headers
- Add a Title to a Table
- Things to Consider When Creating Your Spreadsheet
- Include Alternative Text to All Visual Content
- Making Videos/Audio Accessible
- Links
- Accessibility Checker
- Document Meta Data
- Saving as a PDF
- Test It
Making Your Excel Spreadsheets Accessible
Fairleigh Dickinson University is committed to making our digital content accessible to people with disabilities (required by Section 508). This document will discuss the best practices for making Excel spreadsheets accessible. Information is based off Microsoft Excel versions 2024.
Table Headers
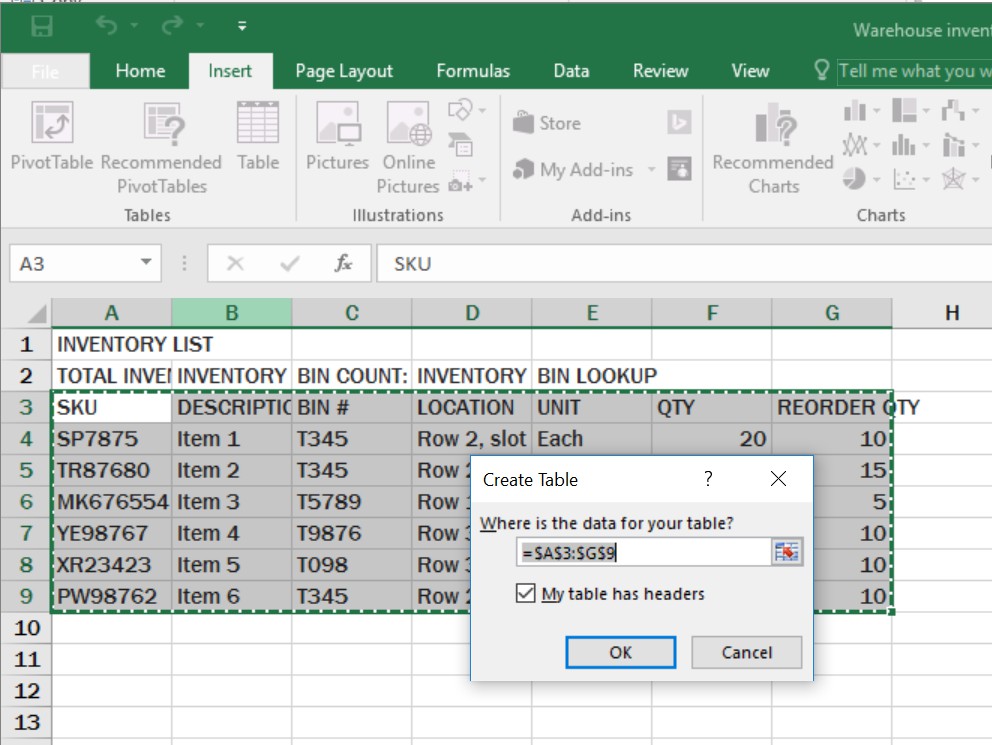
Use simple table structure with column header information. Header information is used to identify rows and columns for those using assistive technology.
- Select the cells you wish to include in the table
- Click the Insert tab and click Table
- Select My table has headers and click OK
Add a Title to a Table
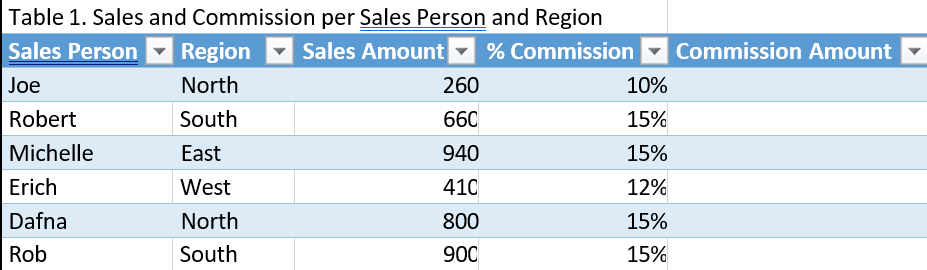
Add a table title in the first cell of the first column of the worksheet so those using assistive technologies can find it easily. (If you number your table titles, type a period or colon after the table number, followed by one space and then a description of the table content.)
For example:
Things to Consider When Creating Your Spreadsheet
- Screen readers start in the first cell (A1) so consider placing important information about the sheet here.
- Do not merge cells
- Do not have blank cells within the If you need blank cells, mark them with a minus sign, a zero or N/A for not applicable.
- Break down complex data sets into logical tables ideally with their own worksheets. New tables should be created on separate worksheets to aid navigation and understanding.
- Avoid using visual devices such as color, shading, patterns and borders to divide up data regions.
- Give sheet tabs unique names and remove blank sheets
- Do not use color alone to convey information
- Use the same font consistently throughout the spreadsheet, recommended fonts are Times New Roman, Verdana, Ariel, Tahoma, Helvetica, or Calibri.
- Do not use text boxes
- Every chart (e.g., bar graph, pie chart) must have a title, a legend, and axis labels (if applicable).
Include Alternate Text to All Visual Content
Visual content in Excel includes pictures, clipart, SmartArt graphics, shapes, charts, videos, etc. In order for content to be accessible, alternate text must be added.
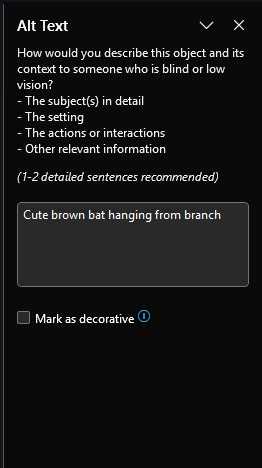
Adding Alternative Text to Visual Content
- Right-click on the content and select View Alt Text
- Enter the descriptive text about the content under Description. It is best to keep alt text under 150 characters.
Making Videos/Audio Accessible
To ensure your Excel spreadsheets are accessible, ensure the following when adding videos to your spreadsheet:
- Videos that include dialogue should also include closed captions or subtitles in a supported format for users that are deaf or hard of hearing. If captioning is not possible, a text transcript of the video should be provided.
- Videos include an audio track with video descriptions, if needed, for users that are blind or visually impaired.
- Embedded audio should have a transcript
Links
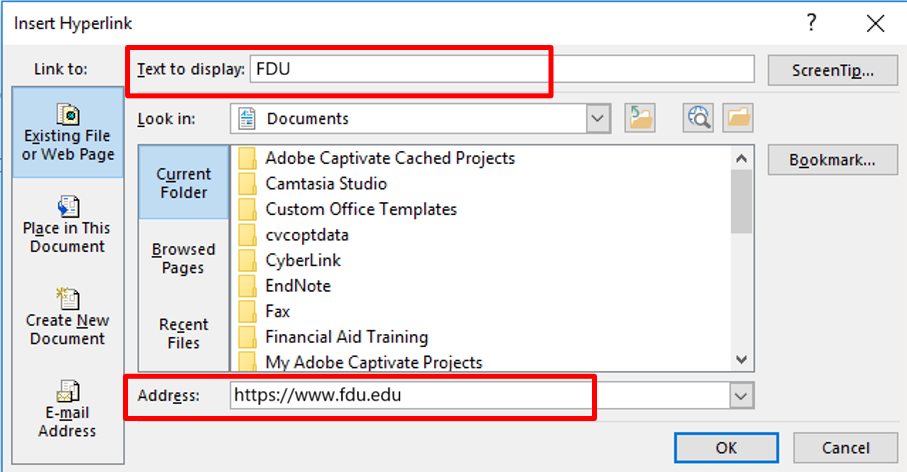
When links exist in your spreadsheet, ensure the link text is meaningful. Use the Excel link tool instead of copying and pasting the URL.
- Right-click on the specific cell
- Select Link option
- Type a descriptive title for the link under Text to display
- Paste the URL under Address and click okay
Accessibility Checker
The Accessibility Checker tool in Excel finds accessibility issues in your document. The tool generates a report of issues that could make your content difficult for people with disabilities to understand. Accessibility Checker also explains why you should fix these issues and how to fix them.
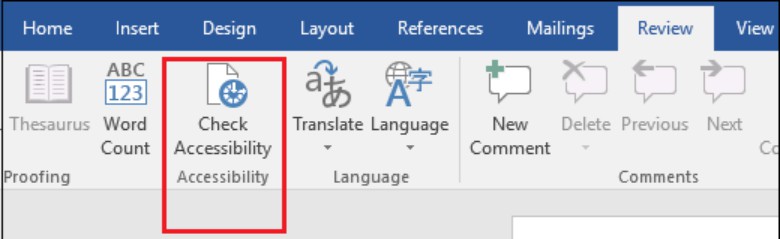
Start Accessibility Checker
The Check Accessibility tool may be found on the Review tab depending on the version of Excel you are using.
If your version does not have the option, click on the File menu. Under Info click on
Check for Issues and select Check Accessibility.

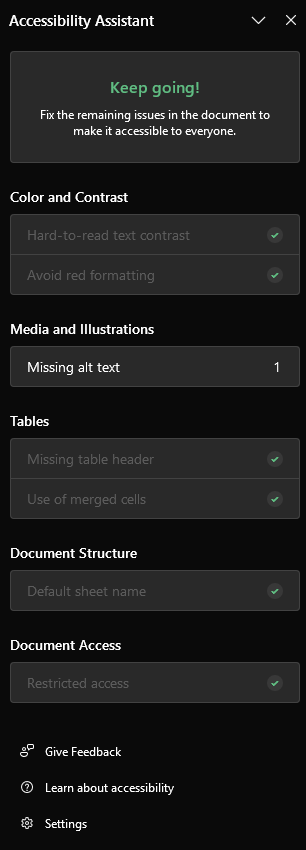
The Accessibility Assistant pane will appear on the right. To see details of an Error or Warning, click on any issues listed.
Document Meta Data
Adjusting the spreadsheet’s meta data can assist in making your spreadsheet more accessible for those using assistive technology.
Giving the Spreadsheet a Title
- Click on File
- Click Info and click in the Title field and enter a title
- To edit the existing Author, right-click on the author’s name
Saving as a PDF
If saving your Excel file as a PDF, making your spreadsheet accessible in Excel will reduce the amount of time it will take to make the PDF file accessible.
- Click on File and select Save As…
- Pick a file location
- Select PDF as the Save As Type…
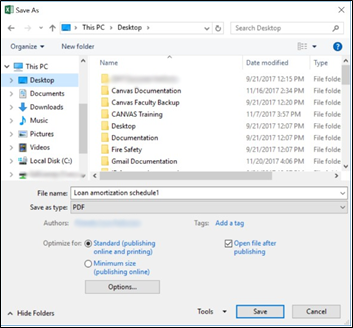
Note: It is important to save your spreadsheet via the steps above. Creating a PDF via File / Print does not tag the file in Adobe and therefore it will not be accessible.
Test It
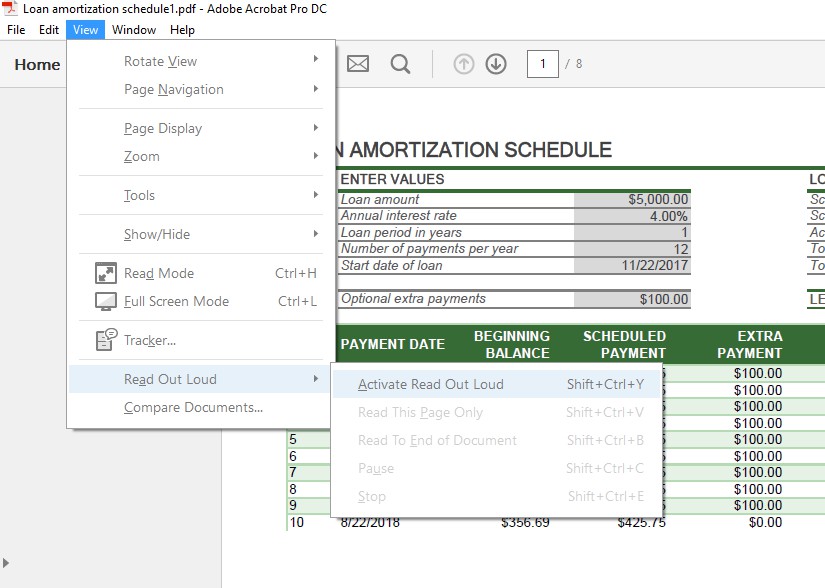
You can listen to your spreadsheet to test if it is readable in the Read Out Load feature of Adobe Acrobat Pro. Read Out Load is a Text-to-Speech tool.
- Save the file as a PDF and open in Adobe Acrobat Pro
- Click on View and select Read Out Load / Activate Read Out Load
- Click on View again and select Read Out Load and click on either Read this Page Only or Read to End of Document
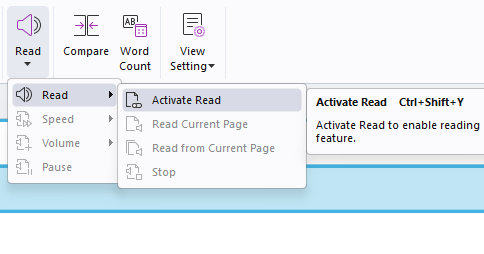
You can listen to your spreadsheet to test if it is readable in the Read feature of Foxit. Read is a Text-to-Speech tool.
- Save the file as a PDF and open in Foxit
- Click on View and select Read/Activate Read
- Click on View again and select Read and click on either Read Current Page or Read From Current Page